The better part of this summer after work and on the weekends I spent restoring my boat. My sister and I planned a camping trip for the nephews the weekend of August 7th and I didn’t want to go to the lake about an hour away without my boat.
Problem, the boat has been at a buddy’s lake house for about two years and is starting to show wear. It is time for some TLC and restoration. In cases like this it is always best to have a buddy who A) has more experience than you and B) has more tools. My buddy Joe agreed to help me with the project on the weekends. It is important to note that Joe has a masters degree in industrial arts and can fix anything. He also has tons of tools I would otherwise have to buy. Yes he’s a good friend to have around.
Trailer Restoration First
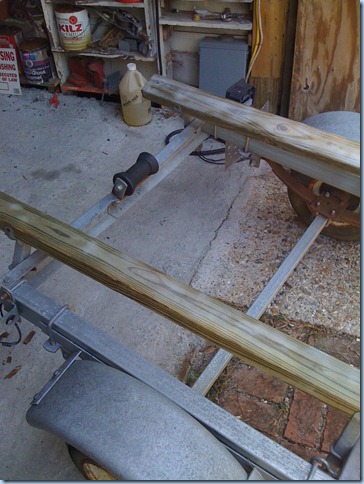
The first thing I had to tackle was the trailer because I had to go and get the boat from the lake. The running boards on the trailer were rotten. Thus the boards and the carpet on them needed to be replaced.
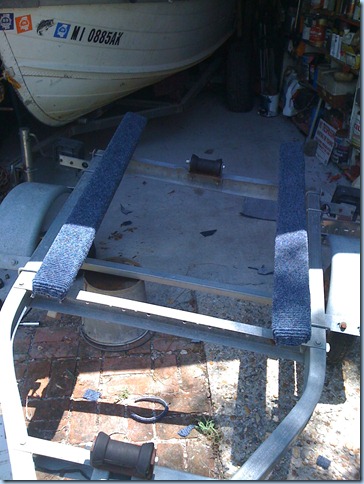
The trailer is in great shape otherwise. It is a galvanized trailer (which means it won’t rust). For the running boards I used treated 2×4’s. I only had to buy one 8ft board and cut it in half. In no time we had them on the trailer and sprayed with contact cement so we could attach the new carpet to them.
After a few hours of waiting on things to dry and cutting the carpet to fix the running boards we were in business. The boat is blue (I hand painted it several years ago, so I wanted the carpet to match the existing color scheme). I think it turned it nice. Looks like it came from the factory.
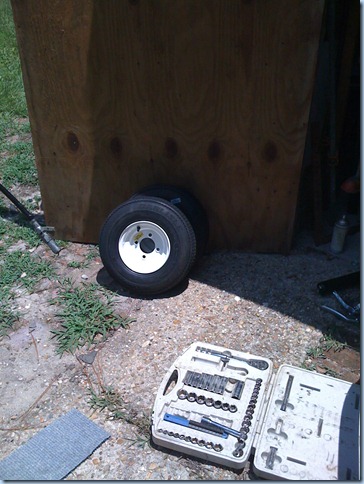
While we were working on the trailer I decided to purchase new tires for it. The existing tires had dry rotted and I knew they were not fit for any long trip. I picked up two new already mounted tires on the wheel for about $50 a piece.
While we had the wheels off I wanted to grease the hubs. Luckily bearing buddies had already been installed so it made that REAL easy.
The last thing to do on the trailer were the lights. I had accidentally cut the light plug off with the lawn mower earlier in the year so I had to put a new plug and wiring on the front. Not a huge deal.
The trailer was done, time to go pickup the boat.
Boat Transom
The boat is a 12ft aluminum boat. When I lived in Ann Arbor, MI years ago a fellow driver ran into the back of my boat while I was stopped at a red light (by the way, it is the light right past the Heidelberg if you are familiar with downtown Ann Arbor). Anyway, the motor I had at the time was broken off the back of the boat and the transom wood on the back was severely busted. While it worked for awhile it was getting to the point to where you didn’t trust it.
I purchased a 3/4inch treated piece of plywood to rebuild the transom. We used gorilla glue to glue two pieces of 3/4inch plywood together and then cut it to fit in the back of the boat. Getting all of the stuff off the back and cutting old screws was the tough part.
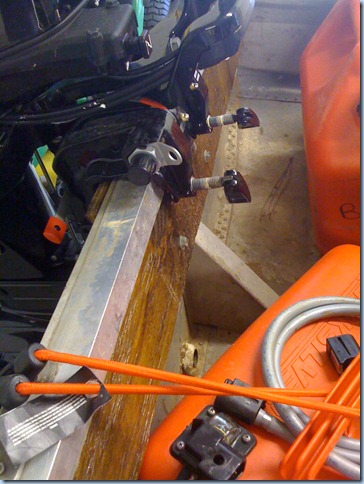
After a little sawing to fit into place things were looking up. To add further stability to the transom Joe took some aluminum angle iron and fit it over the back of the transom to give it extra strength so we would have a place to drill the pieces back into. We sealed it all with silicone to further waterproof it and it turned out awesome. I can honestly stand on it and nothing moves.
Seats
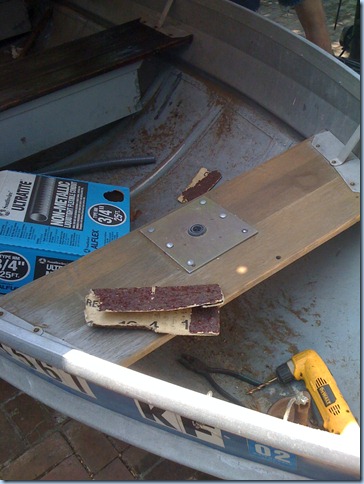
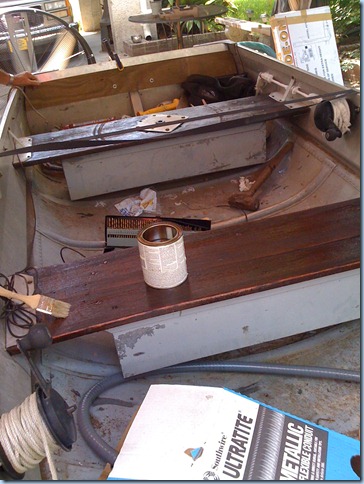
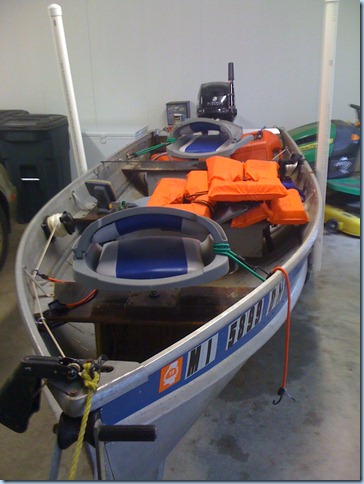
I purchased new seats for the boat since the ones that were on it were extremely weatherized. The wood on the inside of the boat needed some serious TLC as well. We sanded and then coated the existing wood underneath the seats. It took several days to finish this part since we had to wait 12 hours per coat to dry.
From here you can see the before and after the finish adds. It really sealed the wood to give it a longer shelf life no doubt.
Battery Box
As I mentioned earlier, the boat is 12ft. The boat is great for rivers, back waters, and small lakes. The only problem with it is you have to balance weight. I had decided that I wanted to build a battery box in the front under the front seat so it was out of the way.
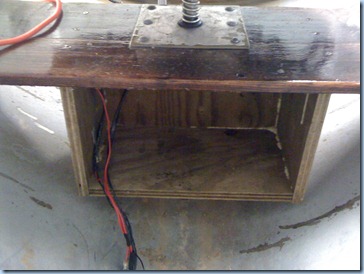
We took the left over treated plywood and started measuring for the biggest battery box we could make. Previously the battery had to be in the back of the boat and it was a pain to constantly hook everything up. I also wanted to simplify that as well. Here’s how the box turned out.
Not bad if I say so myself. This is much easier and it helps to balance the boat out even if I’m in the boat by myself.
Wiring
Having the battery box in place meant wiring had to be run. Along the side of the boat is an indention. To hide the wires out of place I purchased some conduit and we ran the conduit inside the indention and then permanently attached it to the hull of the boat with silicone. Look for that grey tube a couple of pictures up for what I’m talking about.
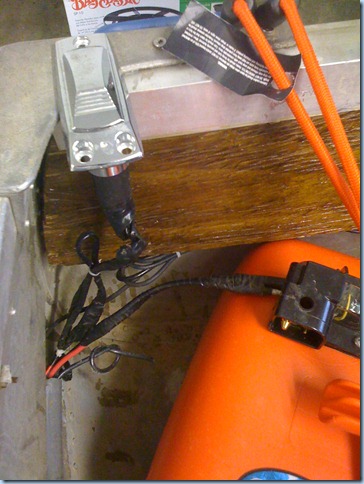
Once the conduit was in place I rewired the whole boat. I ran wiring from the battery to the back of the boat for the trolling motor and made an easy attachment plug. I also re-ran wire for the depth finder as well as the light required for the back of the boat.
After getting the wires ran I spent a lot of time tacking them to the underneath parts of the seat and wrapping them with electrical tape. A pretty good job if I say so myself.
Trailer Runners
Runners were something I have wanted to have on the trailer for a long time. I purchased some from the Internet after seeing them in a local sporting goods store (they didn’t have the size I needed). Runners serve two important purposes. One is to be able to see where the boat trailer is behind the truck when backing it down the ramp. We have some really steep river ramps here. Without runners one is backing a boat down a ramp blind until the truck clears. Not fun if you are trying to launch the boat on your on. The second thing the runners serve is to be able to easily get the boat positioned properly back onto the trailer.
The runners were an easy install. They just mounted onto the trailer.
The Final Product
After it was all said and done I am very pleased. This boat will be around for a long time (even if I don’t own it) and is sure to help bring in the big ones.
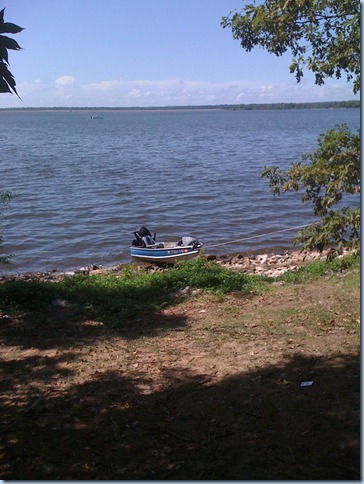
And what do you know. It even floats after all that work.
This was a fun project this summer and I learned a lot working with Joe on the wood work. He’s truly a professional.
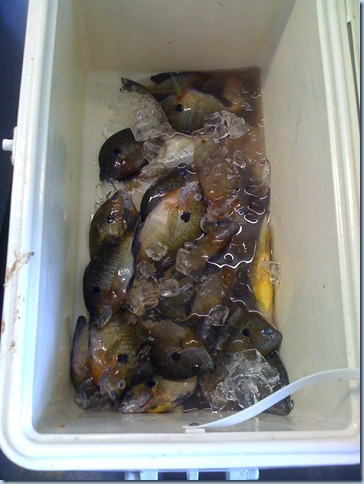
In the end I met my deadline but not without long nights after work and a lot of sweat in the Mississippi summer heat. At least my hard work paid off on the camping trip with a mess of blue gill worthy of cleaning.


very nice job on the restoration…let me know if you ever need some new bunk carpet…I own http://www.boatcarpet.com and we offer a special discount to boating blog owners. You can email or call us if you would like more information. I will book mark your blog.