

Setting up RSA Secure ID on Windows Mobile
Posted by Keith Elder | Posted in Internet | Posted on 03-10-2007
| From | 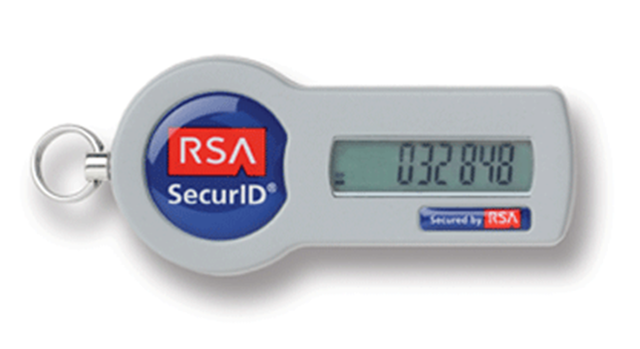 |
To |  |
About a month ago a lot of our Blackberry users at work switched from using the RSA SecurID token (you know, those tokens that go on your key rings?) to using their Blackberry devices to generate their keys so they can access the company’s VPN. It is nice since you have one less device to carry around. Not owning a Blackberry and having a Windows Mobile device I wanted to do the same thing. There have been times where I absolutely forgot to take my RSA Token with me and therefore I was locked out of accessing the company VPN. Forgetting my mobile phone is a lot less likely. So I set out on a mission to get RSA SecurID to work on Windows Mobile. Here are the steps.
Step 1
Download the program and get it installed from the RSA web site. Once you get the program installed on your windows mobile device, the first time you launch the screen it will look like this.
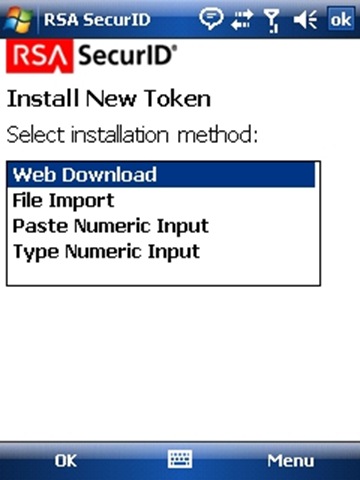
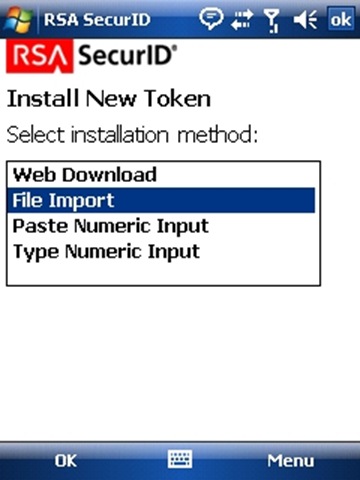
Step 2
Select the “File Import” option. For me this was the option that worked since my network admin sent me the file I needed. Obviously if your admin provides you with the numeric input you’ll chose that option.
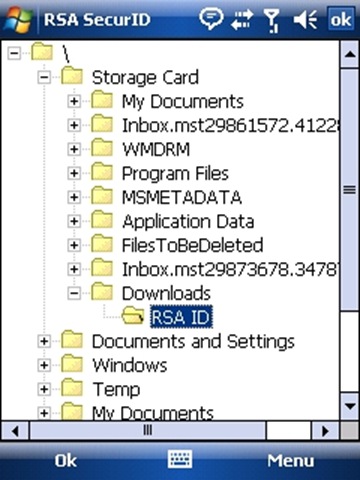
Step 3
I took the file sent to me by my network admin and using the file explorer copied the file to my storage card on my phone while it was plugged up to the USB cable. Browse to where the file is located and select it.
Step 4
Once the token is imported you select the token and then get presented with this screen. The program supports the ability to use multiple tokens and this makes sense as you might have more than one VPN connection. For example one of my banks, E*Trade offers RSA SecurID as an option (and no I haven’t checked with them to see if I can use the program yet, but maybe will).

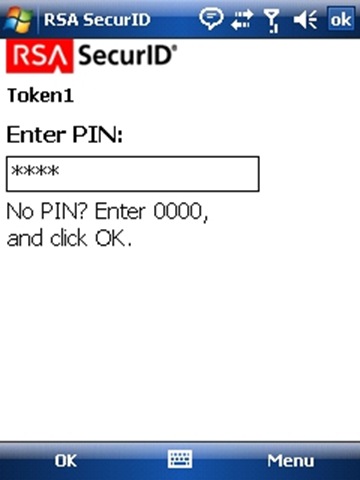
Step 5
For your first run you will want to enter in four 0000’s as the pin. I already had a pin number established but it didn’t work until I entered the four 0000’s. Once I did that it generated a number as shown in Step 6.
Step 6
Take the number generated for you and enter it into your VPN software. In my case, after I entered in this number I was given the option to create a new pin #. I did and subsequent times I logged into the VPN connection I used that pin to generate the securID.

Overall the setup is really simple and takes less than 2-3 minutes to setup. Now I can carry around one device instead of two. The Elder is happy.
Blue Fire VPN for PDA works perfect with RSA Tokens Authentication.
I dont mind carrying an extra device along, but i dont know how to set up a VPN connection.
I tried that but did not know what security to use and what other details to put in.
i am using Win mobile 6.
CAn you help me here?